 |
|
 01-06-2009, 07:55 PM
|
#1 |
|
Still Watching My Back

|
So I have been away (perhaps noticeably or not) from the board for the past month or so. Over this time I had my final exams to deal with and then I went home for the winter break. When I first started I had a little 70 Ct. humidor. Over the past few months my collection has grown and I have outgrown my 70 ct. desktop
and a few other larger desktops. Although there are some nice inexpensive alternatives I wanted something that would look nice. This meant that I didnt want a cooler. I looked into the Vinotemps but as I live in Canada I found them to be few and far between and expensive to get one that looked nice. Also being from Canada, the shipping and Duty charges on the humidors that I could purchase from the States made them very cost ineffective. This meant that I was almost out of options. Unless I built one. So over this 2 week period I worked on building my humidor. Now I am writing this to say only how I built my humidor. I am not a woodworker in any way and I made my fair share of mistakes in building this. I am only mildly proficient with power tools but I think it all came alright. So here is how I made my humidor.
I am lucky in that I live close to a specialty wood store. I chose to build my humidor with Black walnut and Zebra wood. I used solid 4/4 S2S lumber. This would make a sturdy heavy box. I decided on my dimensions and bought my wood. 5 pieces of walnut for the sides, base, bottom and door frame. This piece of Zebra wood for the top. 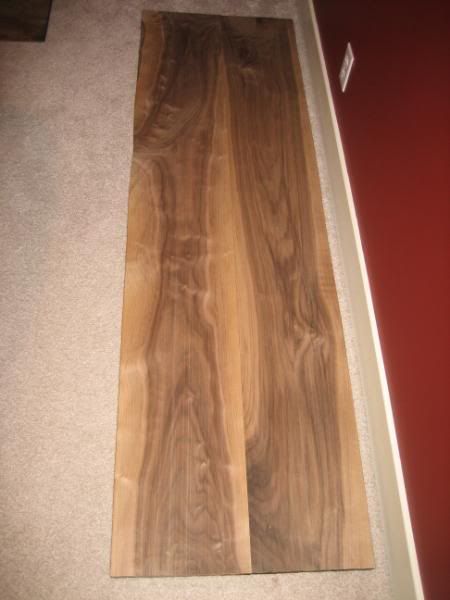 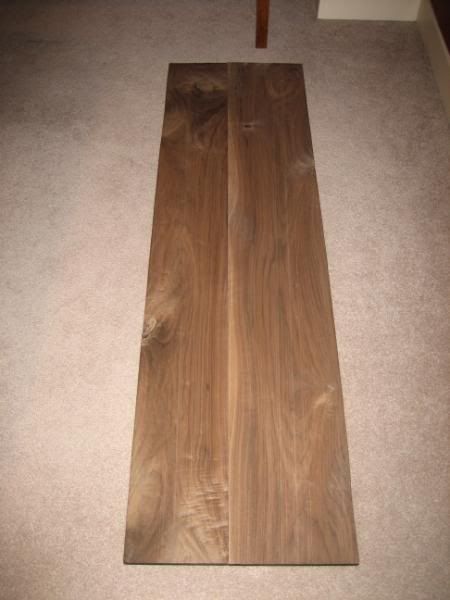 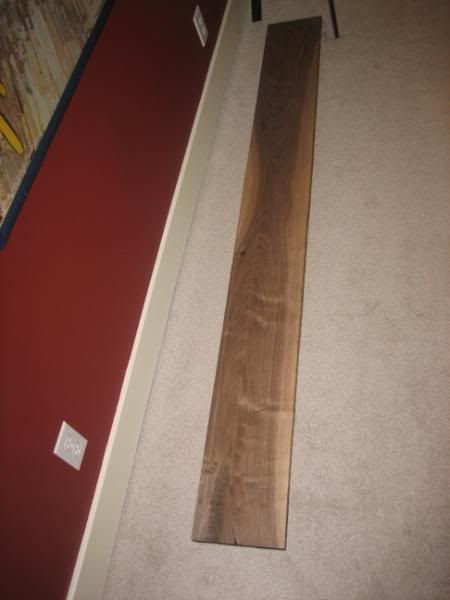 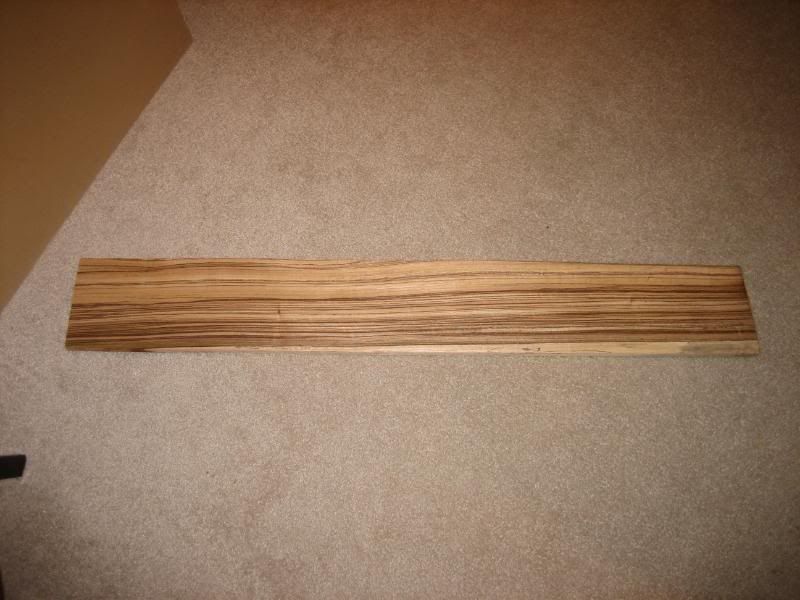 I to cut the wood and biscuit it together (about one biscuit every 6) 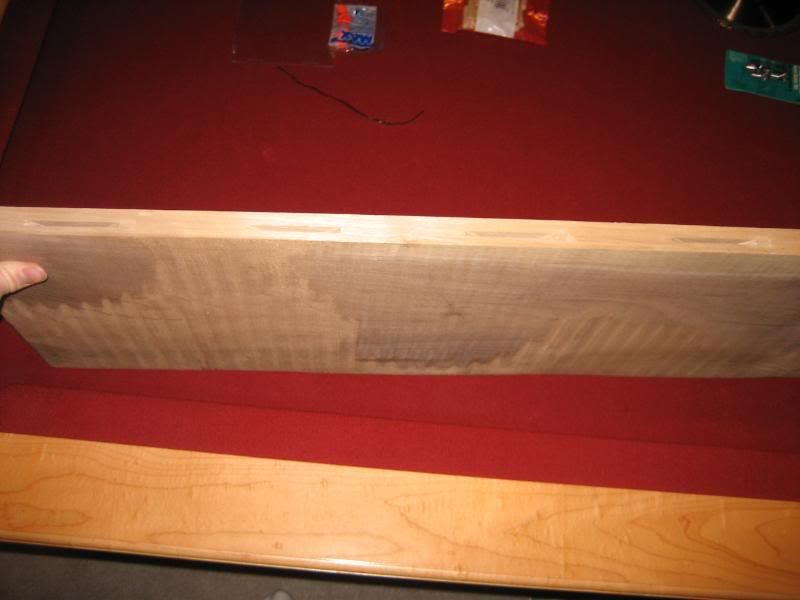 Biscuit and then glue 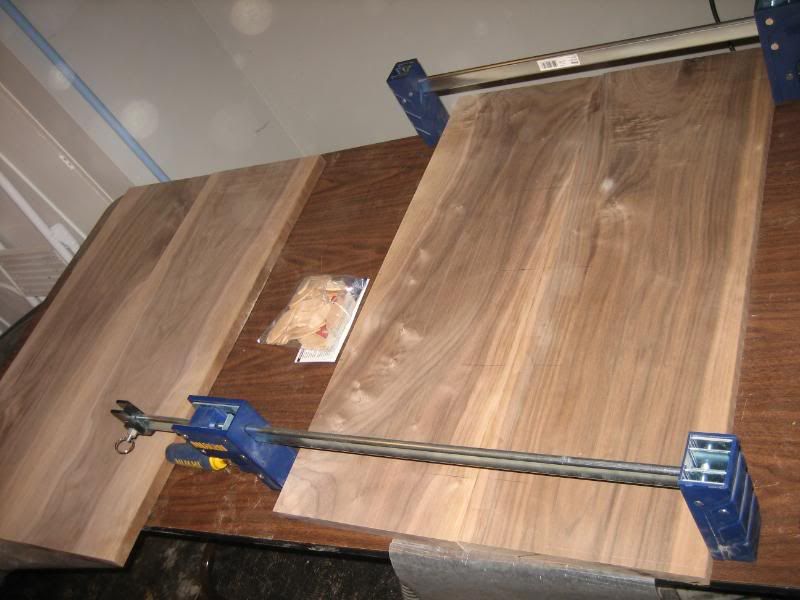 Above are the sides biscuited together and then I then cut rabbets to join the sided and back together. 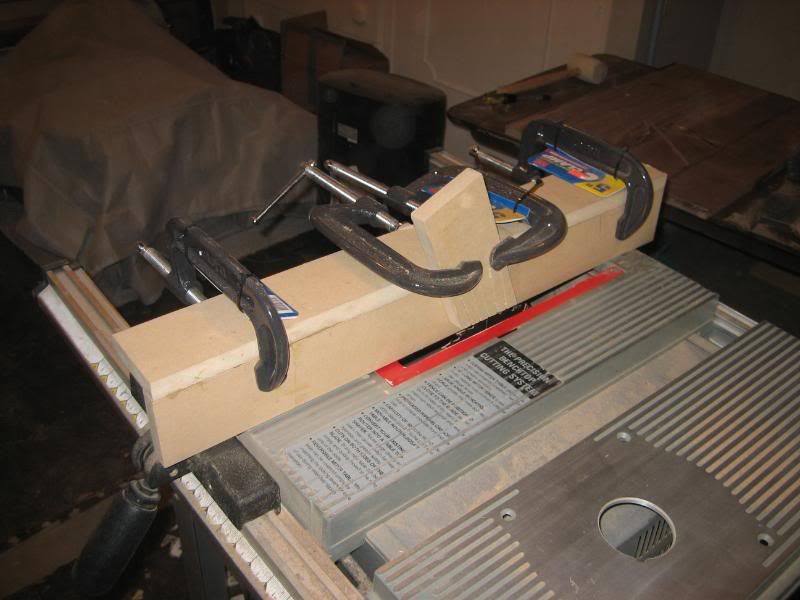 I made a sacrificial fence for this and then cleaned out the rabbets with a chisel 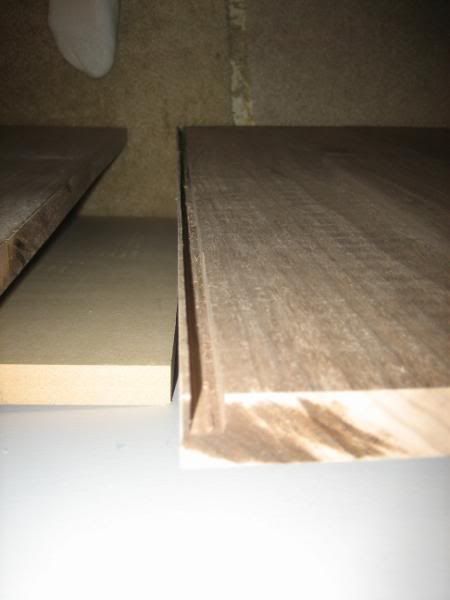 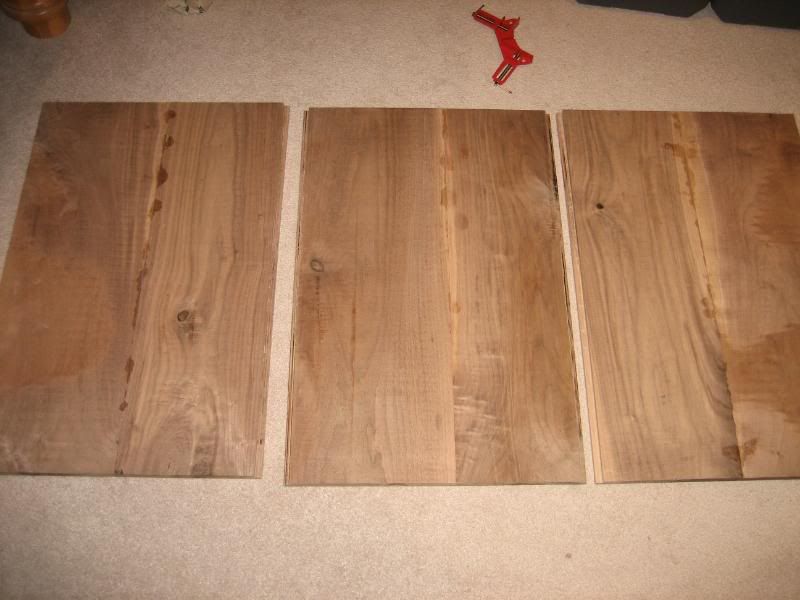 Then It was time to glue them up 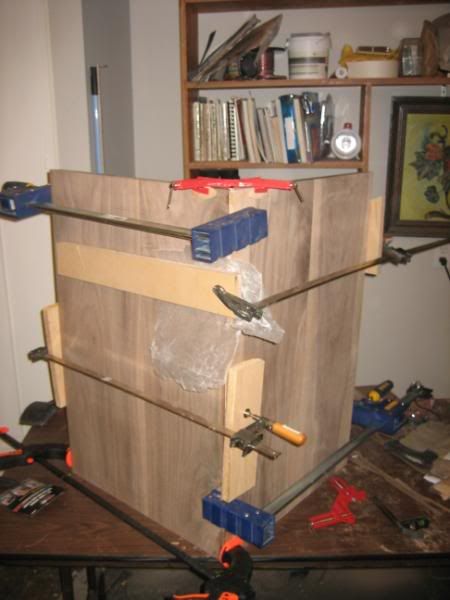
|

|

|
|
01-06-2009, 07:56 PM
|
#2 |
|
Still Watching My Back
|
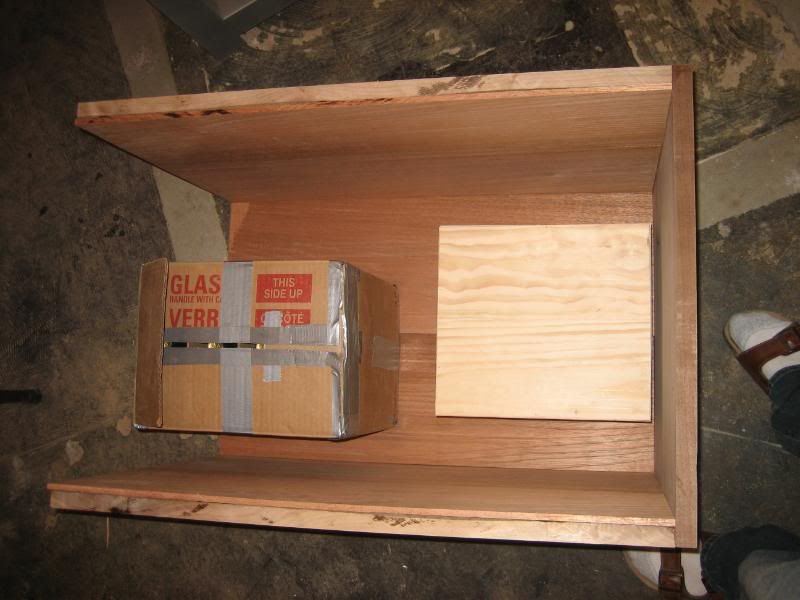
And this is what you get
 I then biscuited the bottom on 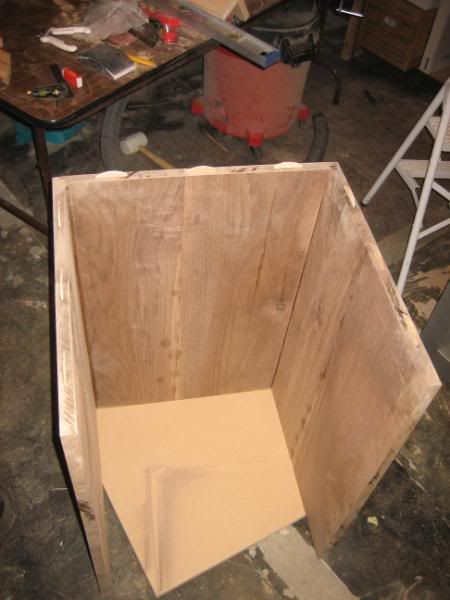 And put a little bit of weight on top 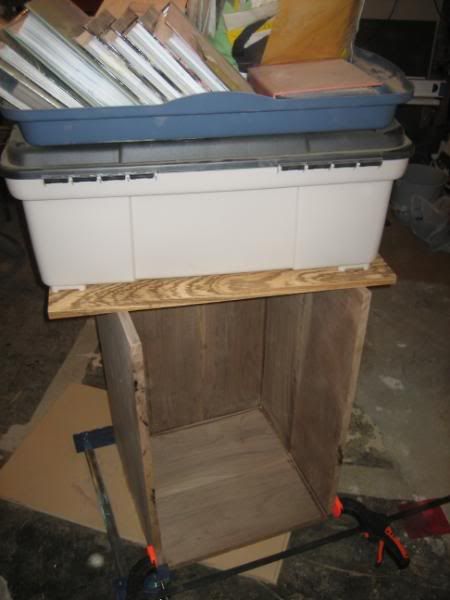 I then went to work on the top. 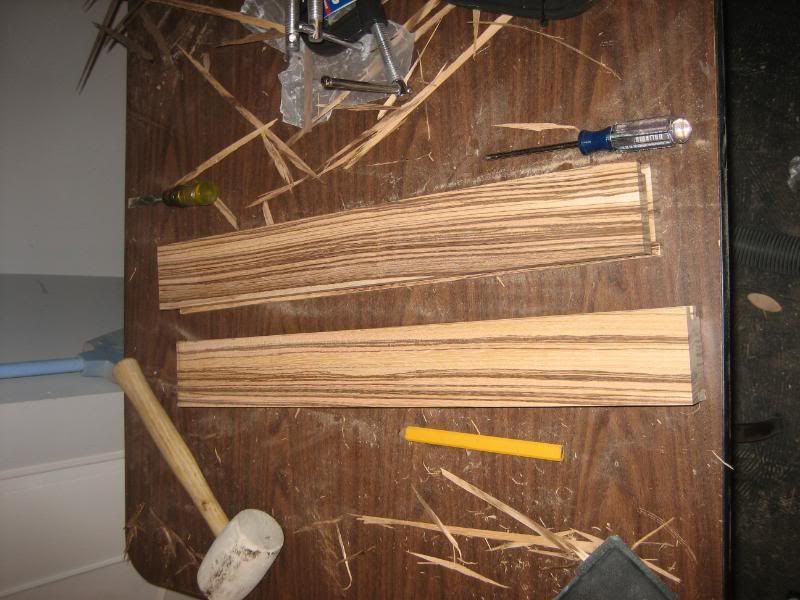 I wanted to put in glass so I made sure it had a lip to hold the glass in. 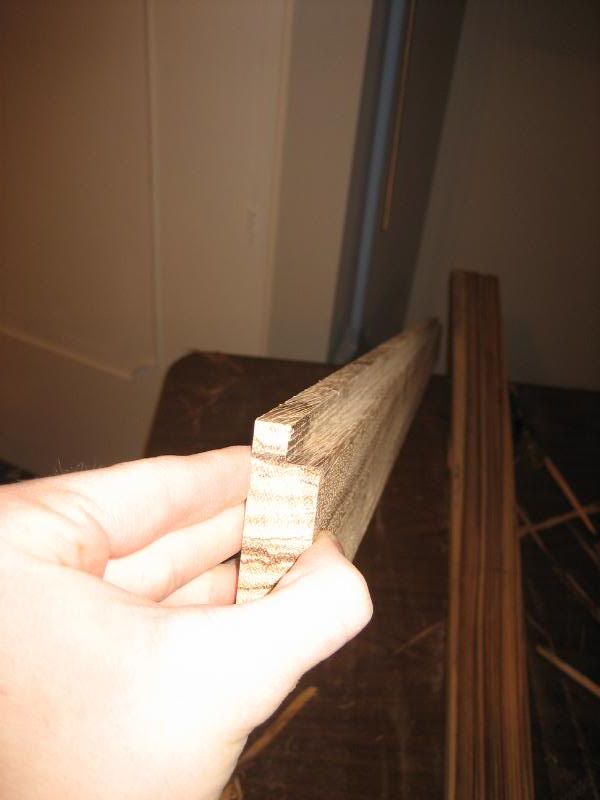 I mitered and biscuited the edges and then glued and assembled 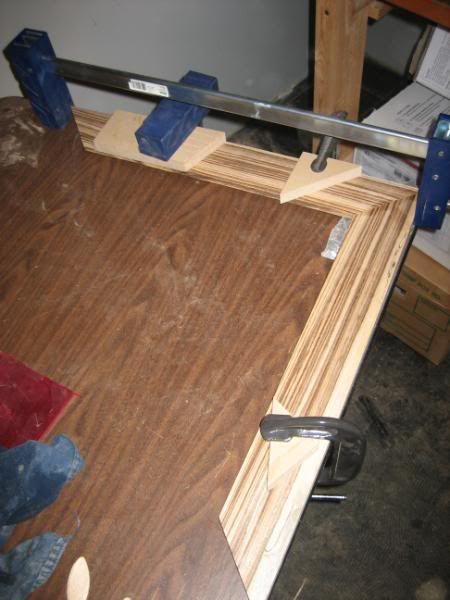 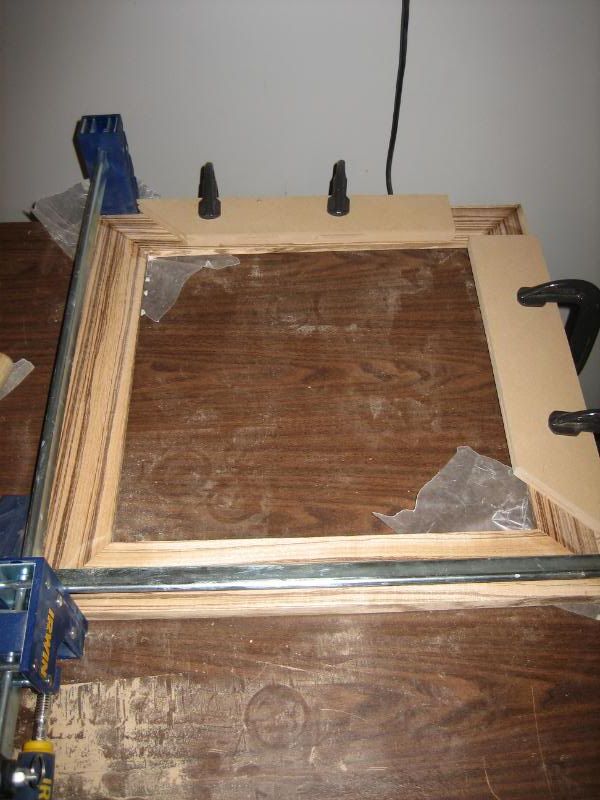 I then wanted to route the sides. Since I didnt own a router table I made one. Here is out if turned out. 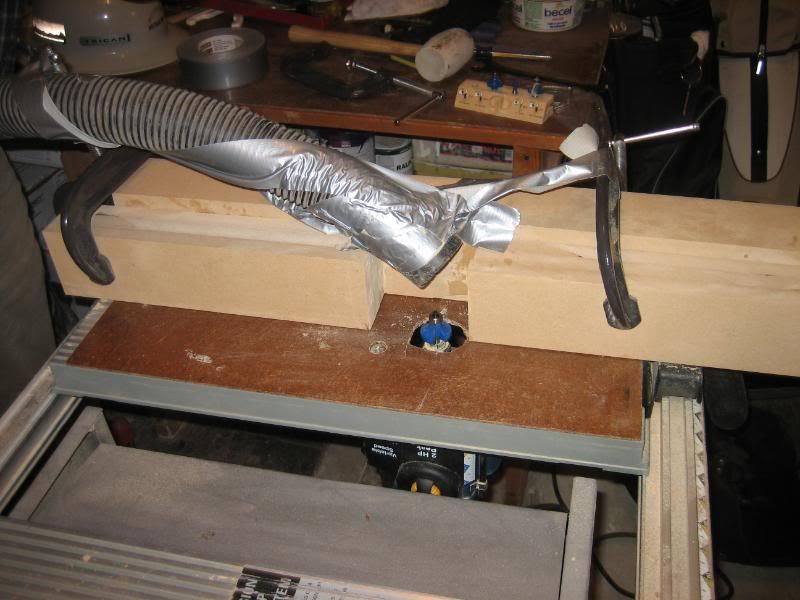 So I routed the corners. 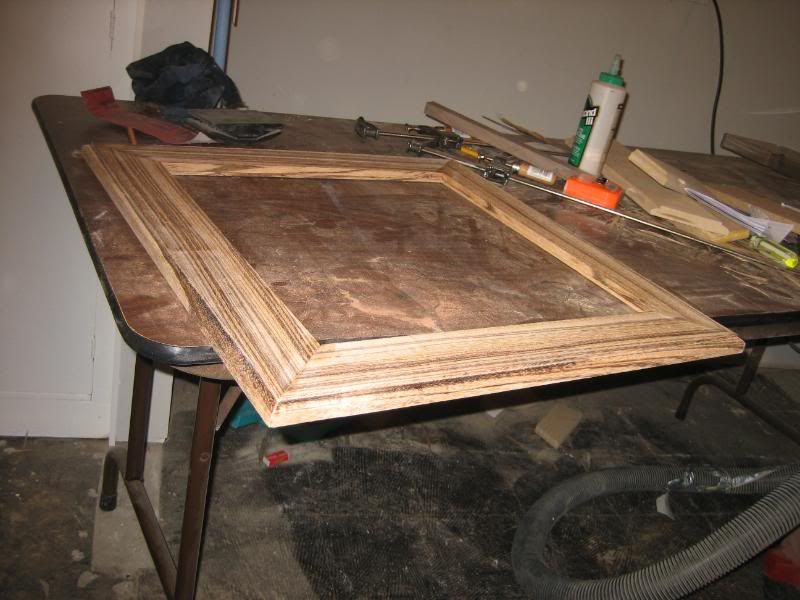 I then took my Spanish cedar and cut to fit and lined the sides of the box. 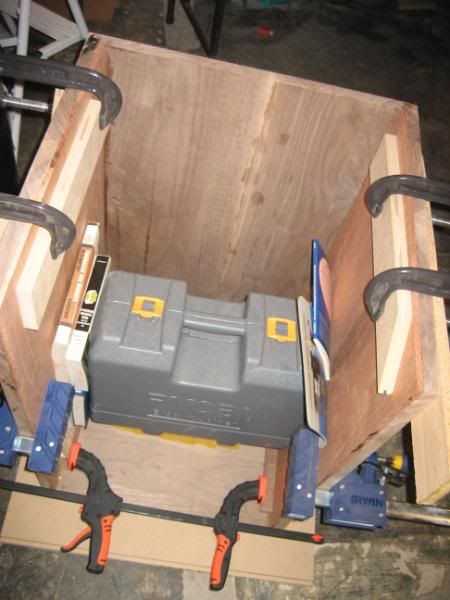
|
|
|
|
|
01-06-2009, 07:57 PM
|
#3 |
|
Still Watching My Back
|
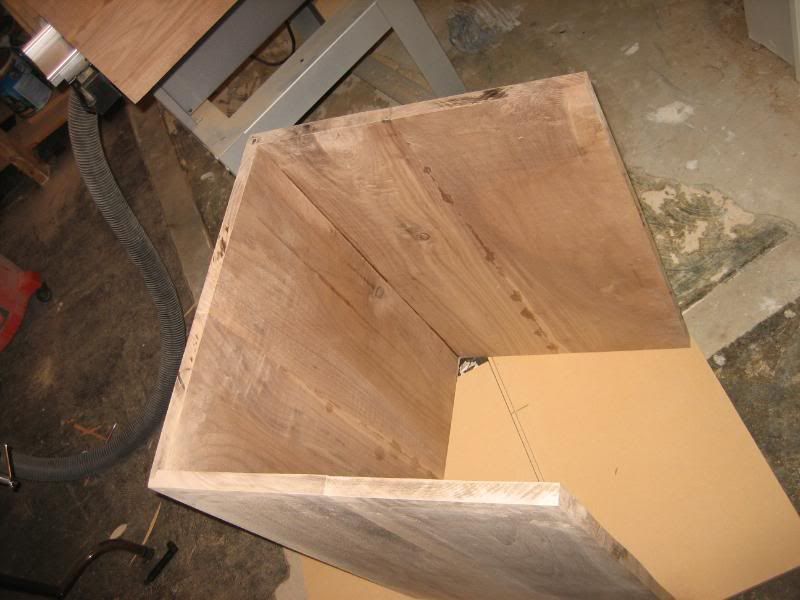
And the back
 I then biscuited the top onto the box 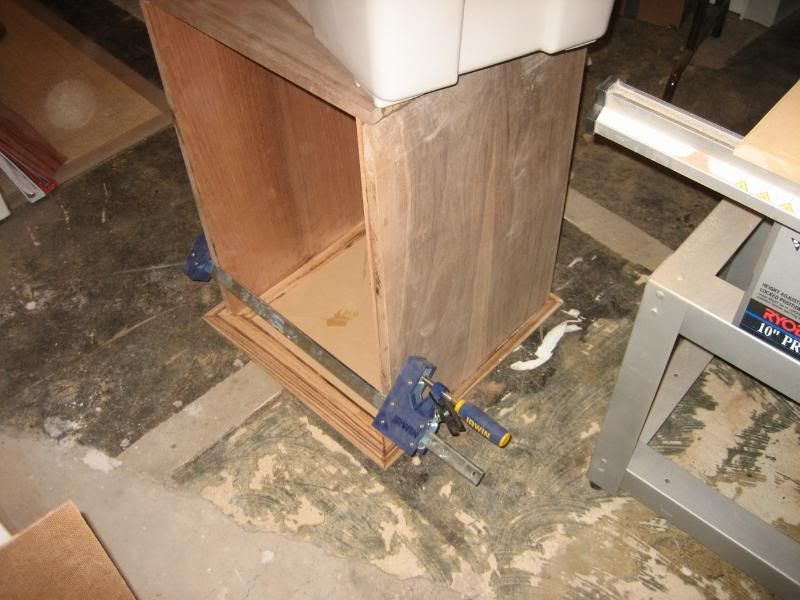 It was then time for the door. I wanted to make a raised panel door where the raised panel was Zebra wood. Expensive but only slightly more expensive than plan glass and cheaper than bevelled glass. I cut the pieces to size  And routed them to fit together. Using only a little it of glue on the rails. The stiles were not glued so that they may expand with the humidity. I later sealed this with silicone as it will allow the wood to move 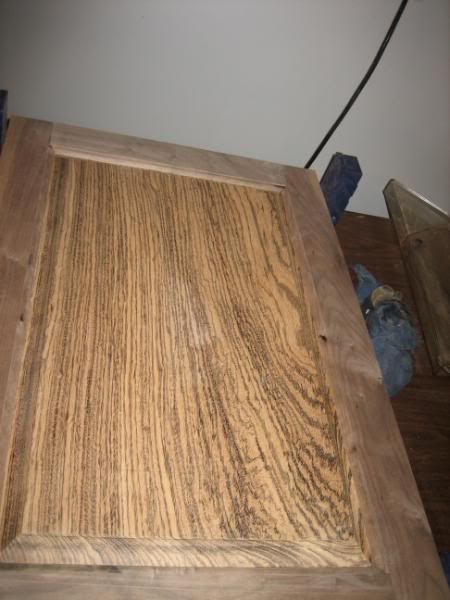 I then made the base. I had left over zebra wood that I put in like a keystone. Everything is held together with biscuits. One of my best purchases was the biscuit joiner. 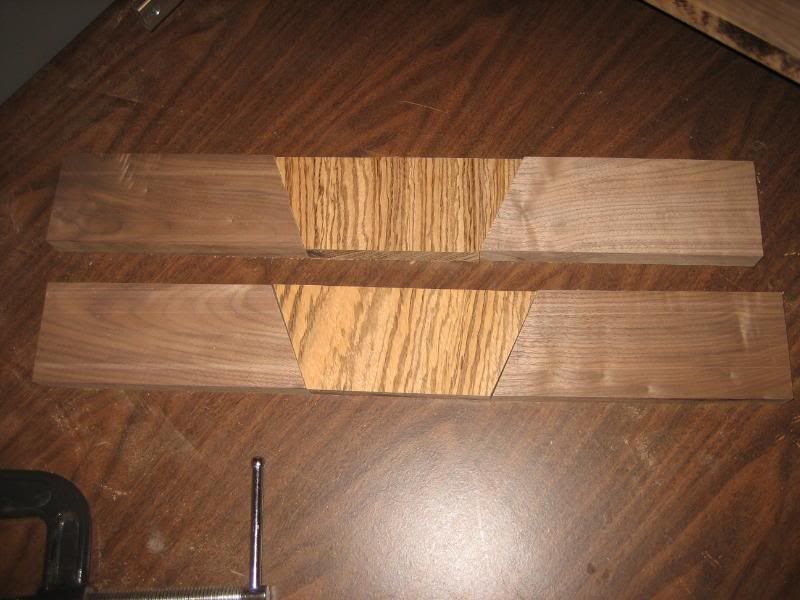 Freehand routing  LOTS of sawdust, I set off my fire alarm about 10 times making this cabinet. And I covered my workshop/ storage room in sawdust. Move everything out that you dont want covered in sawdust before starting a project of this scale 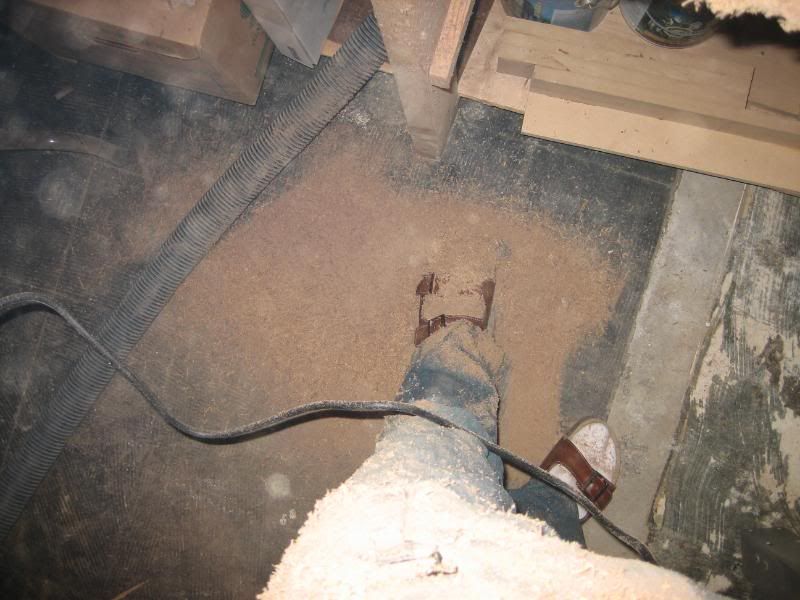 I then biscuited this to the base 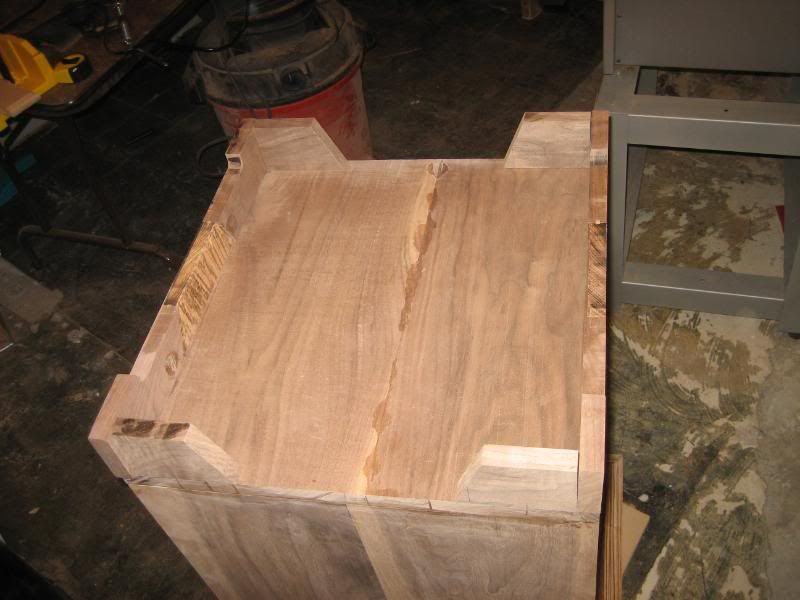 And by this time the box was enough weight to hold it all in place 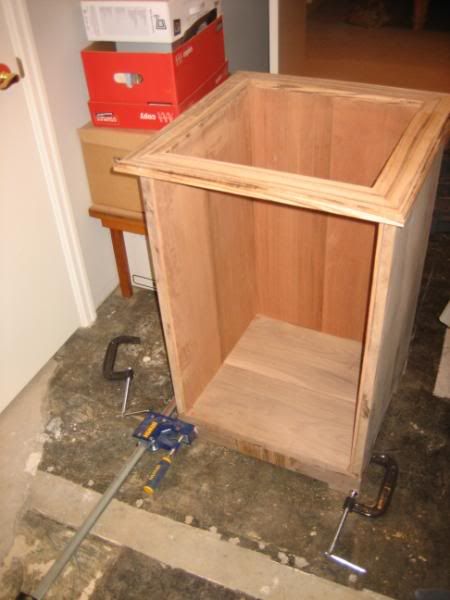 And the base Spanish cedar (friction fit, no glue) 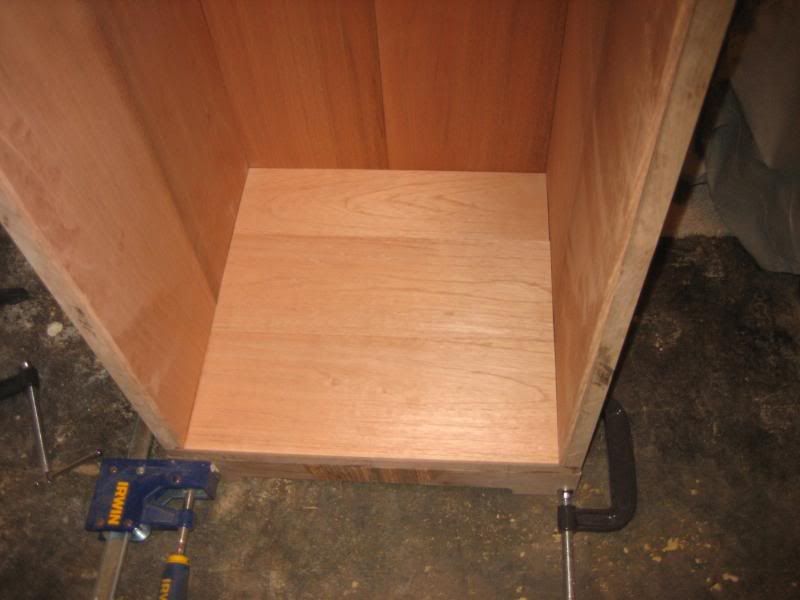
|
|
|
|
|
01-06-2009, 07:58 PM
|
#4 |
|
Still Watching My Back
|
I then installed the door. Note that the cedar had to be chiselled out so that the full overlay door would sit flush over the opening
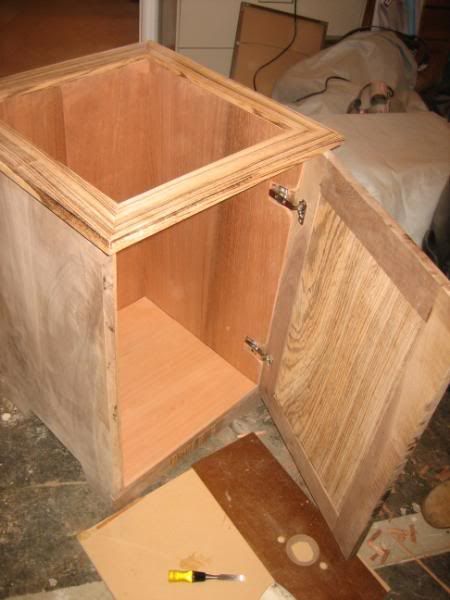 It was then all sanded and I started to apply the finish. Linseed oil was first 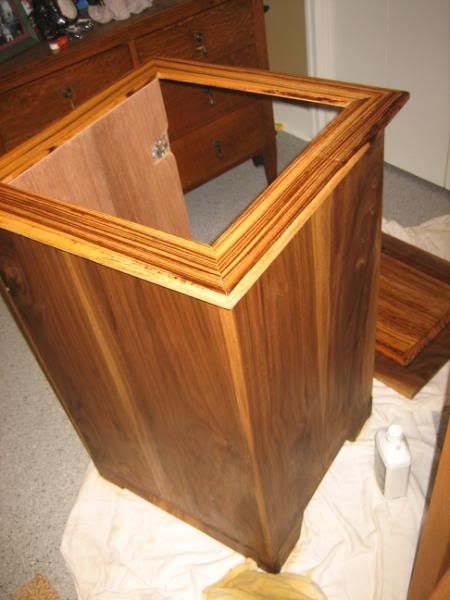 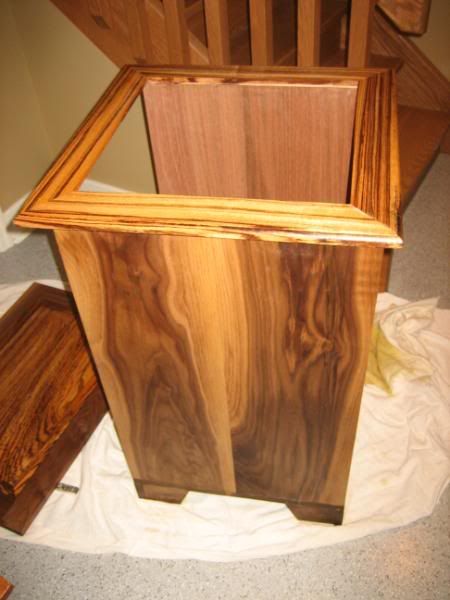 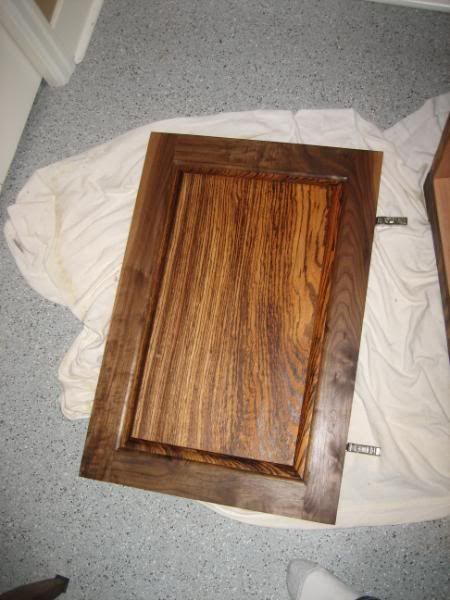  I had to stick to a strict schedule because I didnt have much time. Only 2 weeks. So between my 6 coats of varnish that I put on after the stain I worked on the inside drawers and shelf. We have wood. 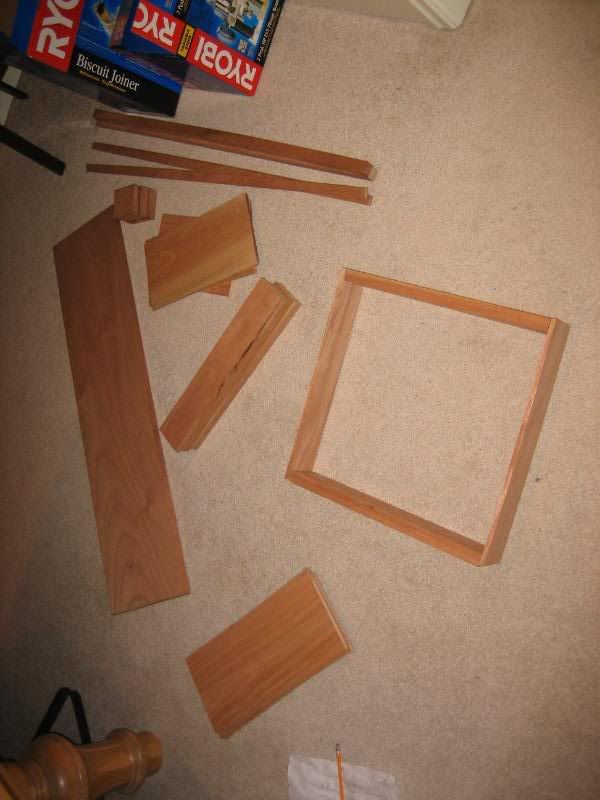 And make Drawers. Note the difference in the pattern Thats how you know that it is handmade  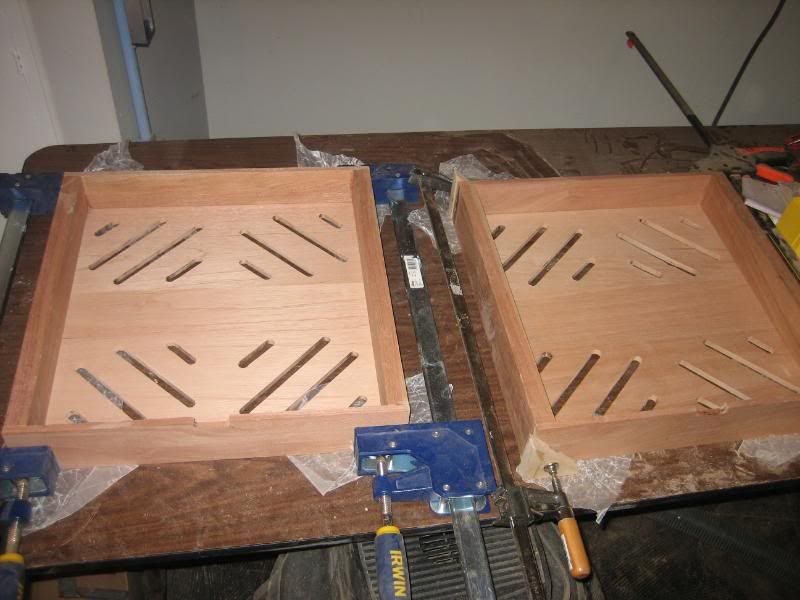
|
|
|
|
|
01-06-2009, 07:59 PM
|
#6 |
|
Still Watching My Back
|
And then once the 6 coats of varnish were on (sanding in between each second coat) I installed the drawers
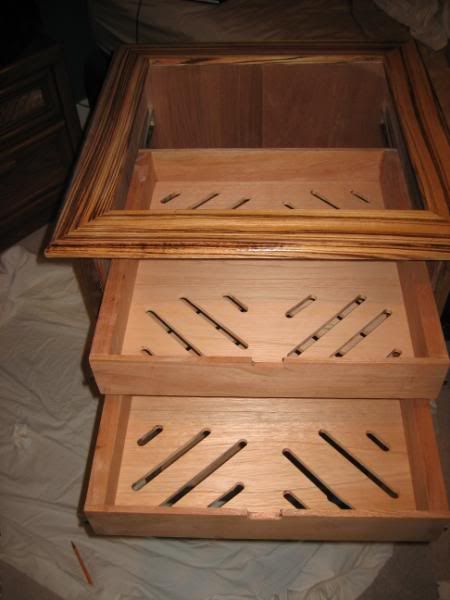 I made a simple shelf and then installed the glass with one inch thick Spanish cedar and covered the whole rim in weatherstripping for a good seal. 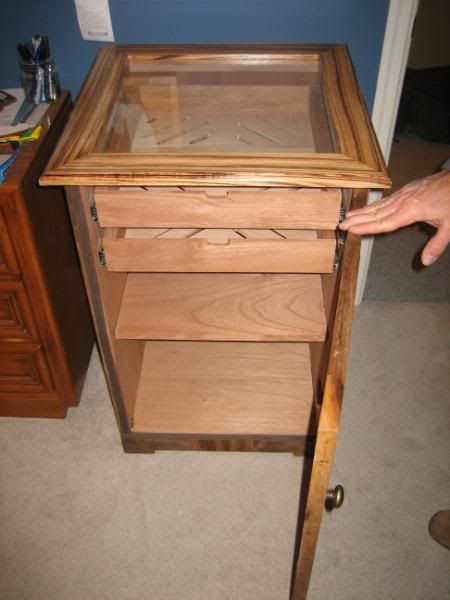 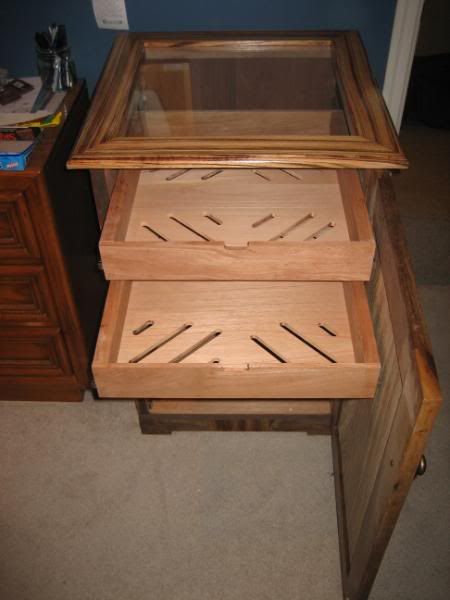 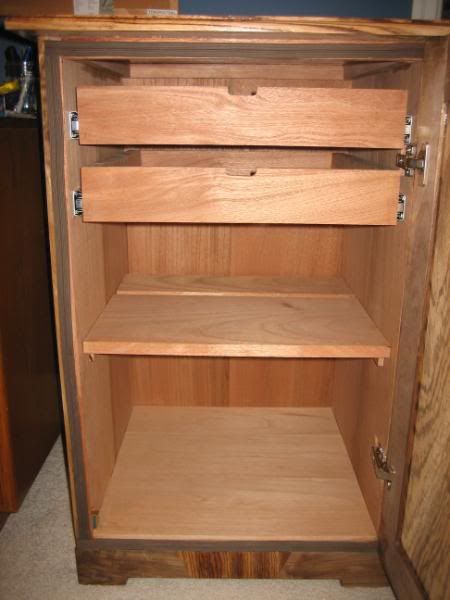 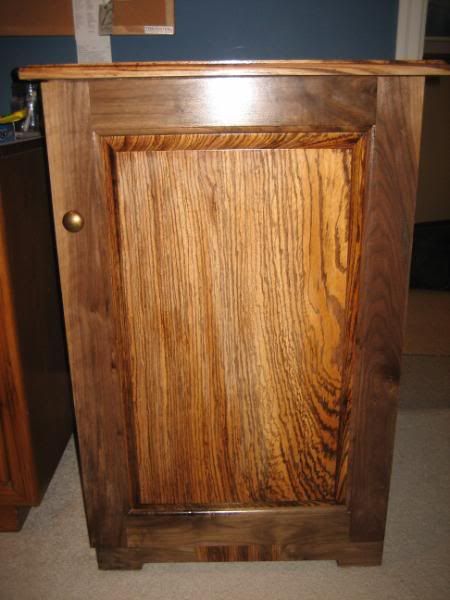 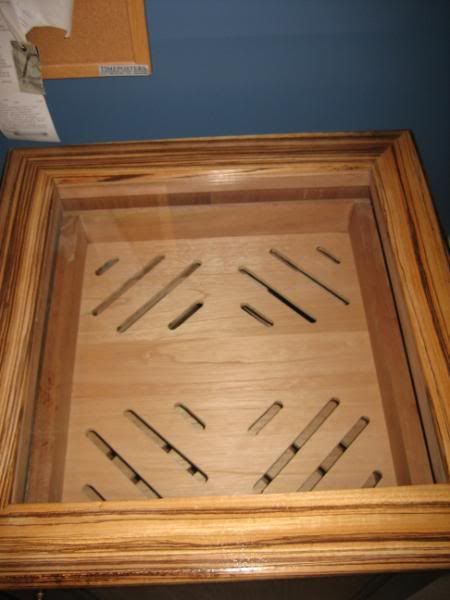 Not too bad for 2 weeks start to finish. I didn’t have time to sand this down as I took these pictures 4 hours before I had to be out the door for a flight back to school. One last pic is the initial master plan 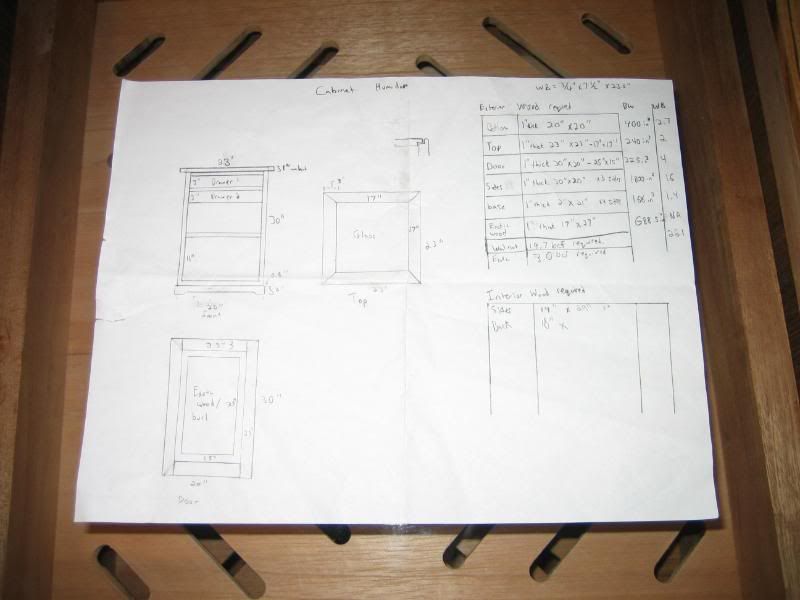 When I get back in May I am putting in dividers and humi beads. Needless to say I spent my cigar budget already! I Hope you like it as much as I do. 
Last edited by O-Danger; 01-06-2009 at 08:06 PM. |
|
|
|
|
01-06-2009, 08:08 PM
|
#8 |
|
Guest
Posts: n/a
|
Looks great, hope you enjoy it!
|
|
|
|
01-06-2009, 08:11 PM
|
#10 |
|
Patriot
|
holy **** man, that looks great. very nice handy work.
__________________
Author of  eath, Disease, and Life at War: The Civil War Letters of Surgeon James D. Benton, 111th and 98th New York Infantry Regiments, 1862-1865. eath, Disease, and Life at War: The Civil War Letters of Surgeon James D. Benton, 111th and 98th New York Infantry Regiments, 1862-1865.
|
|
|
|
|
01-06-2009, 08:24 PM
|
#13 |
|
Guest
Posts: n/a
|
Very nice and great pictures of the progress from beginning to end.
Mike 
|
|
|
|
01-06-2009, 08:27 PM
|
#14 |
|
Captain Cannoli


|
job well done, it turned out beautiful.
mind me asking how much everything cost you to build? tools excluded
__________________
 "One fart can foul the air for everyone" - Esteemed philosopher "If avoiding the nasty $hit is being a snob, them I am guilty as charged."- Same esteemed philosopher. |
|
|
|
|
01-06-2009, 08:35 PM
|
#16 |
|
Post Whore
|
Shiiiiet man that is one hell of a way to spend your break! Great job.
Hey where are you attending school?
__________________
Sitting in the Cozumel LCDH ;o) |
|
|
|
|
01-06-2009, 08:39 PM
|
#17 |
|
Taters of the lost Ark

|
One of a kind that you can treasure! can't wait to see pics of you filling it up and getting all your gear in there!
I'm so jealous of people who have the skill to work with wood. |
|
|
|
|
01-06-2009, 08:44 PM
|
#18 |
|
Still Watching My Back
|
Total Materials Cost: $650 CAD all in
If I was to build another it would cost around $100-$150 less as some items were purchased in bulk. The wood obviously accounts for most of the cost as Zebrano is not cheap (nor is black walnut) however I have enough left over to make a small 100 ct. desktop out of black walnut with some Zebrano accents. This cost does not count in the cost of the tools which if bought at home depot can be quite expensive but if you get them off the net are reasonable. The Interior dimensions are roughly 31"x19"x19". outside is roughly 35"x21"X21". The top has a lip on it of 1" all around. I wanted something of a tower look to it. Since shipping on an item of this size would be about $300 plus Duty (another $100-$200) I feel I made out well. Last edited by O-Danger; 01-06-2009 at 08:53 PM. |
|
|
|
|
01-06-2009, 08:48 PM
|
#19 |
|
Black Ops-SOB

Join Date: Oct 2008
First Name: Chris
Location: SCS,MI(Somewere Cigar Smoking)
Posts: 1,738
Trading: (7)


 |
Nicely done enjoy filling it
__________________
 "Sail Fast, Shoot Straight, Fish Hard and Save Time For The Important Things In Life" "Sail Fast, Shoot Straight, Fish Hard and Save Time For The Important Things In Life"
|
|
|
|


 Linear Mode

