 |
|
|
|
#21 |
|
"Say what again!"
|
Ok, so here's the basics:
The whole purpose of this was to increase/improve air circulation as to even out the RH of the humidor. The issue I was experiencing was that the top half of the humi would always have a little lower RH than the bottom. While I'm still going to add beads for more stability, this is what I came up with to equalize everything. 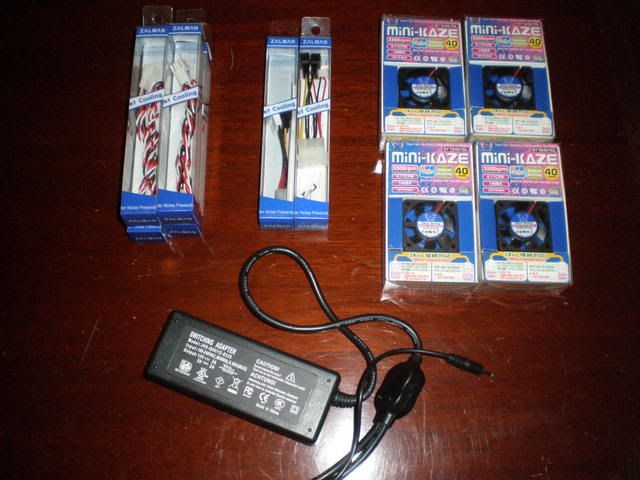 Hereís the parts list I used: 2 x Zalman Fan Multi-Connector Cable ZM-MC1 (for connecting two fans to one molex power connector, these will allow you to hook the fans up to either 5V or 12V, I connected to the 12V) 4 x Zalman 30" Extension Cable ZM-EC1 (to extend the power cables on the fans, it turns out I only needed two, for the top fans) 4 x Scythe Mini Kaze Quiet Computer Fan 40mm x 10mm (these move about 4.7 CFM and are silent, you can turn it up a notch and use the 12 CFM fans, but they are a little noisey) 1 x AC to molex power adaptor (basically a wall plug that has connectors for computer-type plugs) 1 x Molex power splitter (so you can connect the (2) ZM-MC1ís to provide power for all 4 fans) 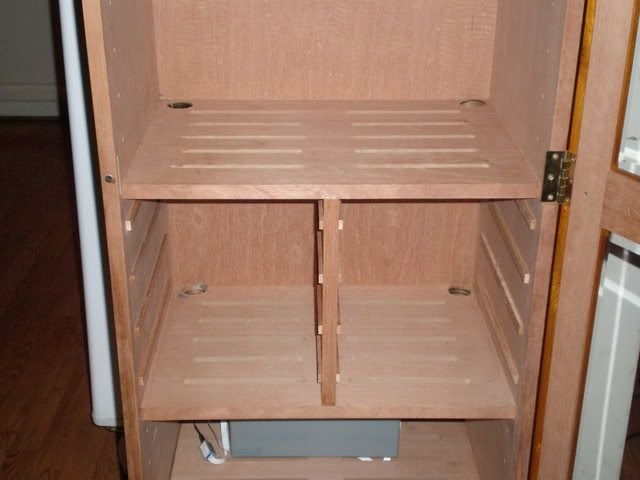 Here we are with the drawers removed and 4, 1.5" holes drilled in the back (top and bottom) of the section. I just used a 1.5Ē hole saw/drill to make the holes. 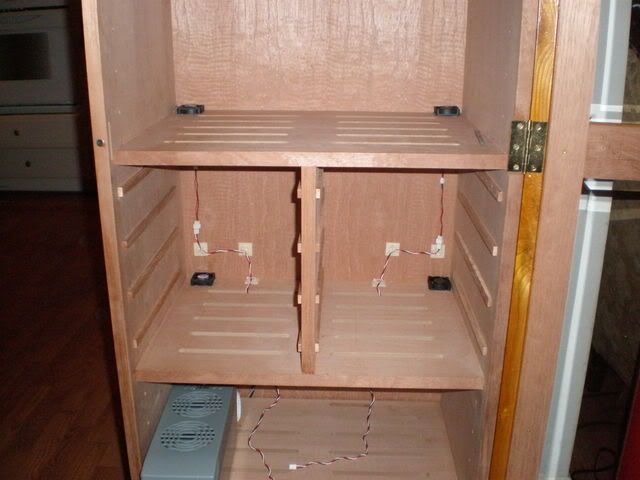 This is with the 4x40mm fans mounted and the beginning of the wiring. The two on the left are set for airflow moving up, and the two on the right are set for down. The two chambers are separated (left and right) so thereís no chance for airflow ďbleedingĒ or vortexing in the drawer chamber. For wire management I just used removable/adhesive clips rather than pre-drilling holes for screws. I may change it at some time, but this was more to make sure it would work before making it permanent. Youíll see where I used the two extension cables on the the two upper fans. 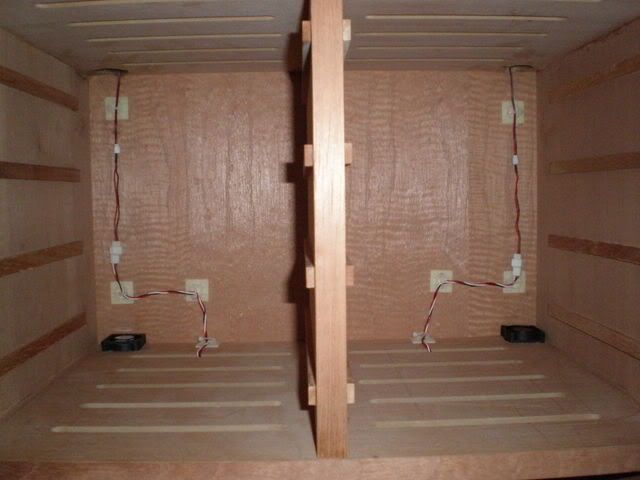 This one is just another shot of the fans/wiring with a slightly closer view. (continued on next post) |
|
|

|
|
|
#22 |
|
"Say what again!"
|
(Continuation from last post)
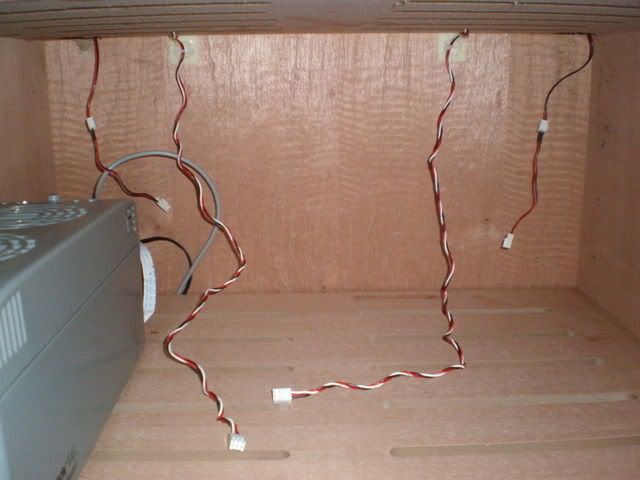 This is after the wiring, down where the power will be tied in and the Hydra will be located. 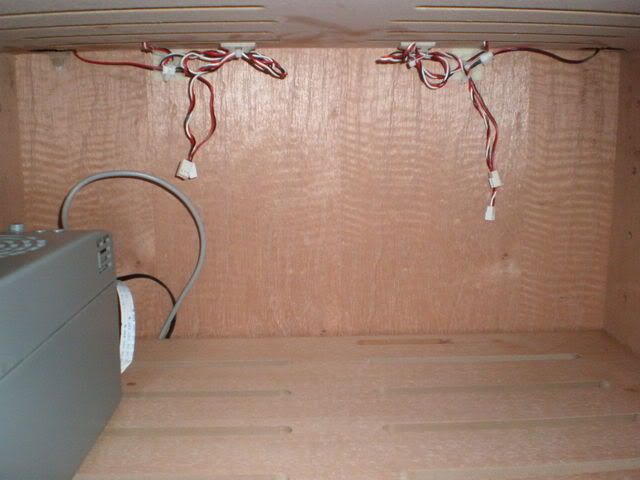 Here we are finished up right before connecting the power and setting up the Hydra. It may not be the neatest setup, but itís all hidden from view behind the Hydra (which is turned 90 degrees from the way itís positioned in the pic). Now my RH is rock solid 68% troughout even without beads ( which I am going to add for stability, and to take the load off the Hydra). Up until I did this, I was ready to throw the hydra in a drawer (as an emergency backup) and get a Moistnaire as I didnít think it could get the job done. Hopefully this is useful to someone (Iím not an expert at any of this, but itís what I did). I know this write up is a little rough, but itís the best I could do quickly. 
|
|
|

|
|
|
#23 |
|
Guest
Posts: n/a
|
Great job!
|

|
|
|
#27 |
|
"Say what again!"
|
I use them alot at work, so that's were I got mine
 . You can get them at just about any computer/tech website. I've personally ordered from coolerguys.com, frozencpu.com, and quietpcusa.com . You can get them at just about any computer/tech website. I've personally ordered from coolerguys.com, frozencpu.com, and quietpcusa.com
|
|
|

|
 |
| Thread Tools | |
| Display Modes | |
|
|