 |
|
|
|
#1 |
|
Still Watching My Back
|
So I have been away (perhaps noticeably or not) from the board for the past month or so. Over this time I had my final exam’s to deal with and then I went home for the winter break. When I first started I had a little 70 Ct. humidor. Over the past few months my collection has grown and I have outgrown my 70 ct. desktop… and a few other larger desktops. Although there are some nice inexpensive alternatives I wanted something that would look nice. This meant that I didn’t want a cooler. I looked into the Vinotemps but as I live in Canada I found them to be few and far between and expensive to get one that looked nice. Also being from Canada, the shipping and Duty charges on the humidors that I could purchase from the States made them very cost ineffective. This meant that I was almost out of options. Unless I built one. So over this 2 week period I worked on building my humidor. Now I am writing this to say only how I built my humidor. I am not a woodworker in any way and I made my fair share of mistakes in building this. I am only mildly proficient with power tools but I think it all came alright. So here is how I made my humidor.
I am lucky in that I live close to a specialty wood store. I chose to build my humidor with Black walnut and Zebra wood. I used solid 4/4 S2S lumber. This would make a sturdy heavy box. I decided on my dimensions and bought my wood. 5 pieces of walnut for the sides, base, bottom and door frame. This piece of Zebra wood for the top. 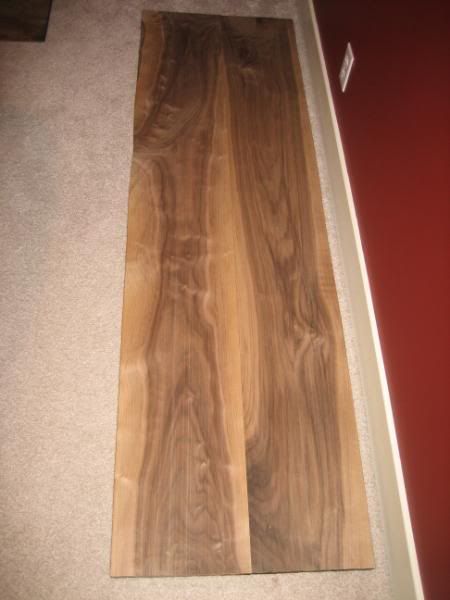 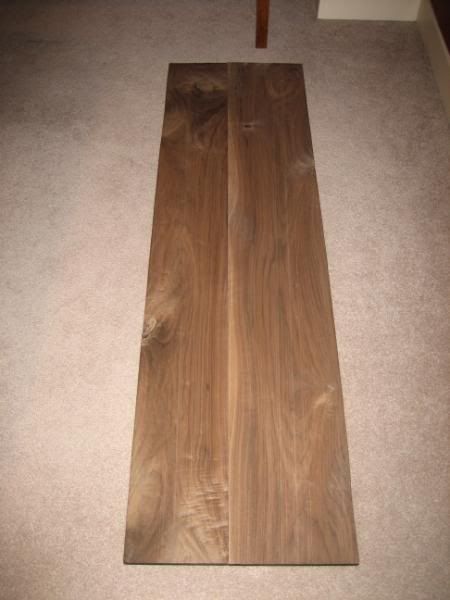 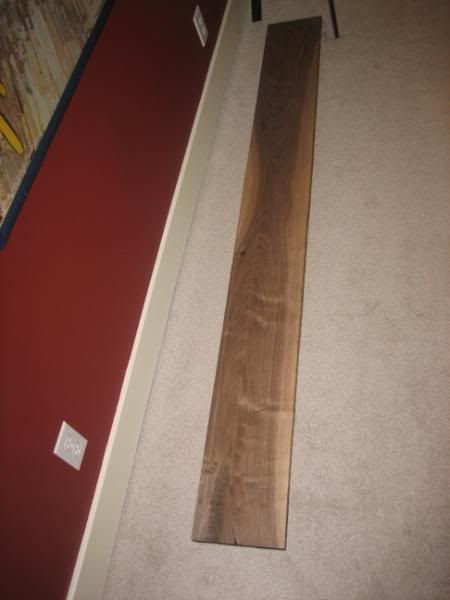 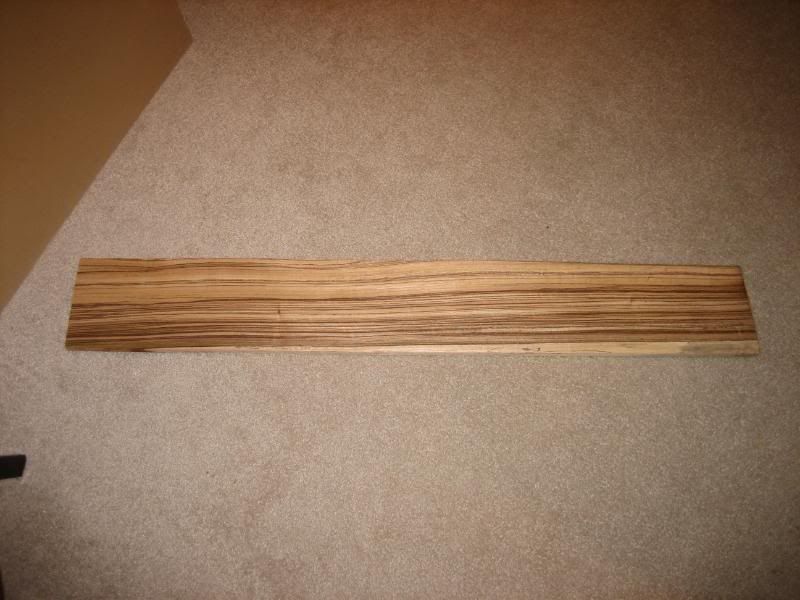 I to cut the wood and biscuit it together (about one biscuit every 6”) 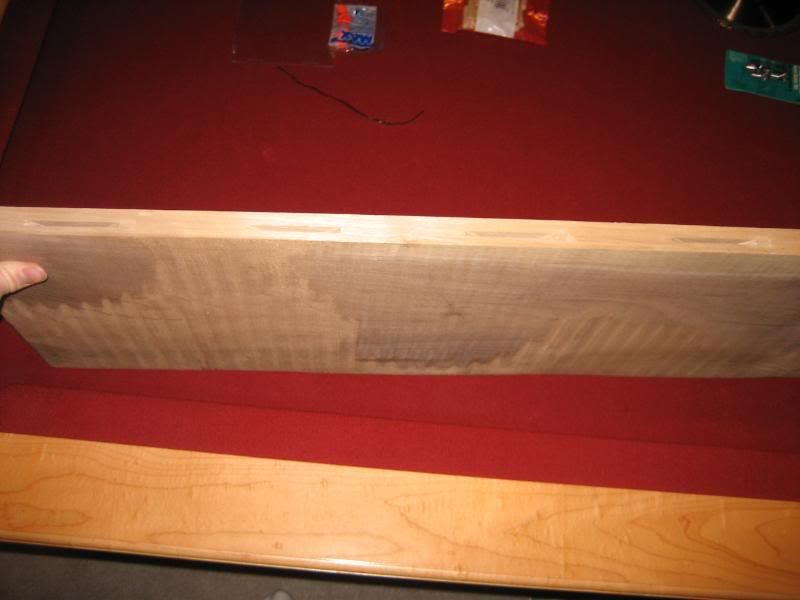 Biscuit and then glue 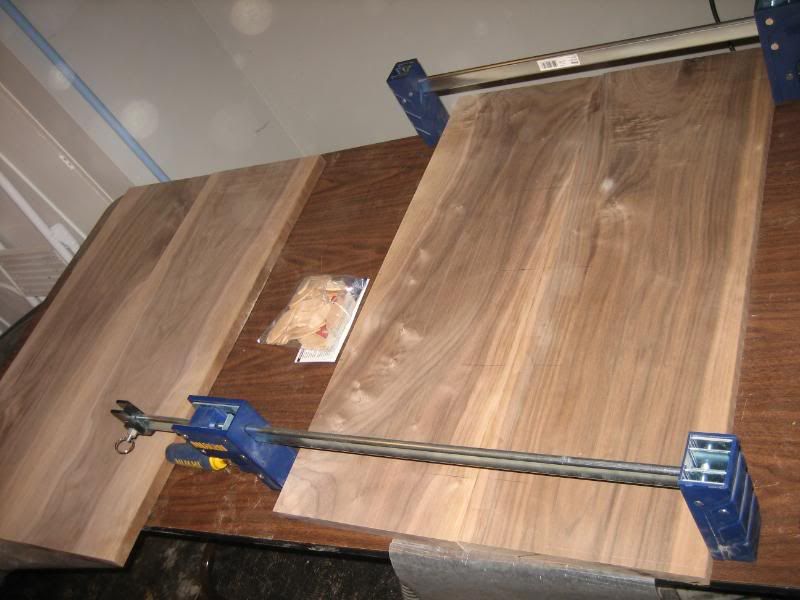 Above are the sides biscuited together and then I then cut rabbets to join the sided and back together. 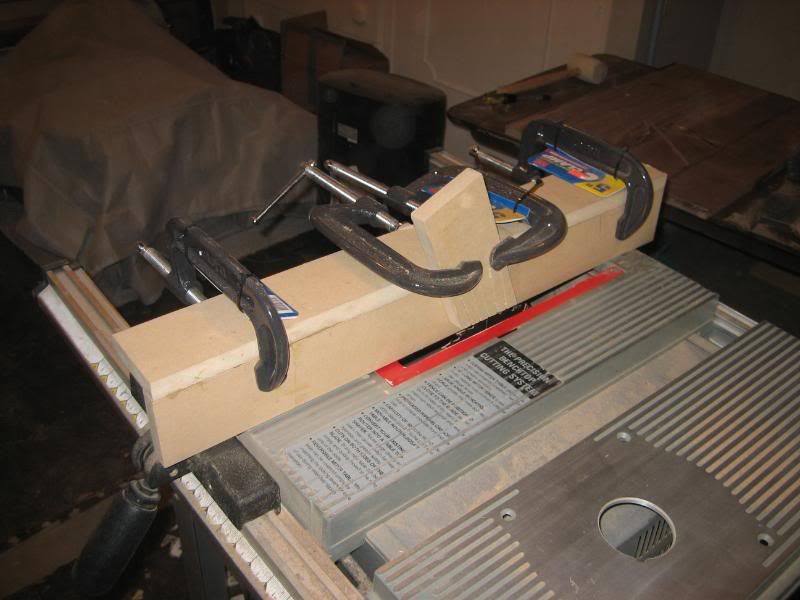 I made a sacrificial fence for this and then cleaned out the rabbets with a chisel 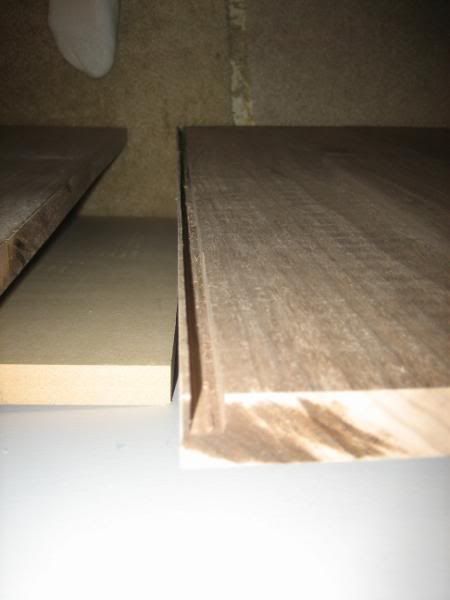 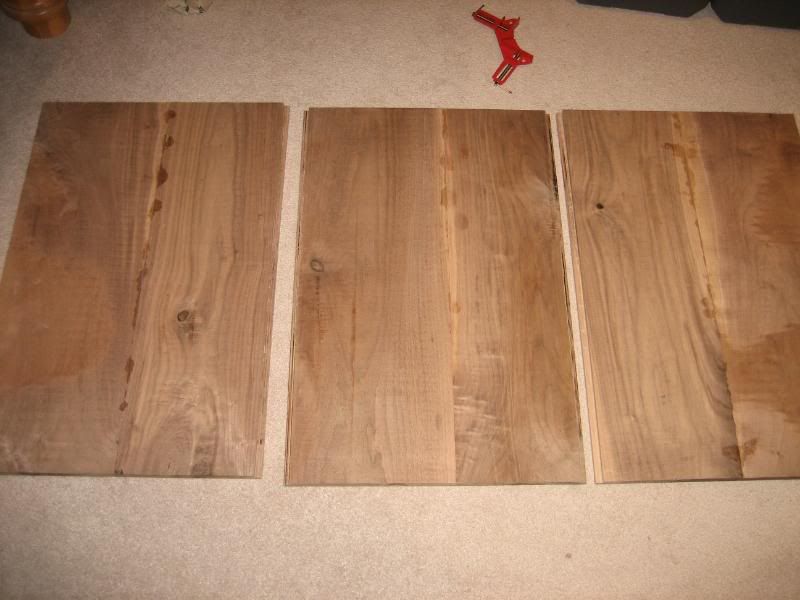 Then It was time to glue them up 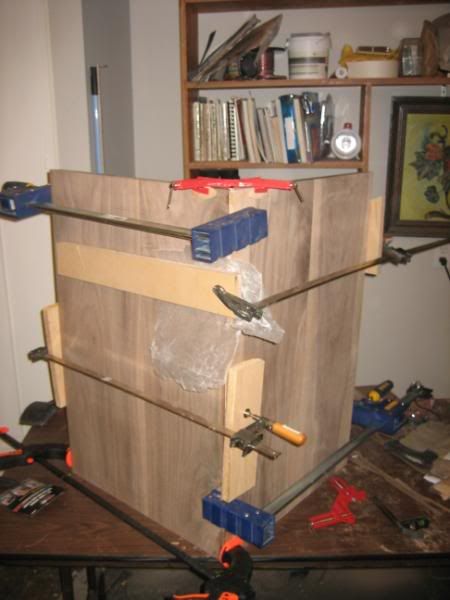
|
|
|

|
| Thread Tools | |
| Display Modes | |
|
|