 |
|
 02-15-2011, 10:24 AM
|
#1 |
|
The Homebrew Hammer

|
Humidity in my house during the winter months usually drops to something around 20%. My glasstop Bally humidor struggles to maintain proper humidity. When I was using Heartfelt beads, Id have to rehydrate every few days, and even with Shilala beads, Id watch my hygrometer drop a few % every other day.
Scotts thread last year inspired me, but it also intimidated me: many of you know that Scotts a craftsmangot lots of cool tools, builds lots of cool stuff. Me, on the other handwell, at 47 I finally got my first Craftsman toolchest a few months ago for Christmas. I know which end of a saw to use, but Im pretty much spatially challenged. The humidity problem finally pissed me off so much that a few weeks ago I decided to fix this problem for good. Snapped some pictures to show how an amateur can do this project and get good results, and thought Id share my experience with you. No doubt, others are having the same problem with their glasstop. Hope this helps! First I moved my stock to the cooler--heres an empty Bally II, getting ready to be disassembled 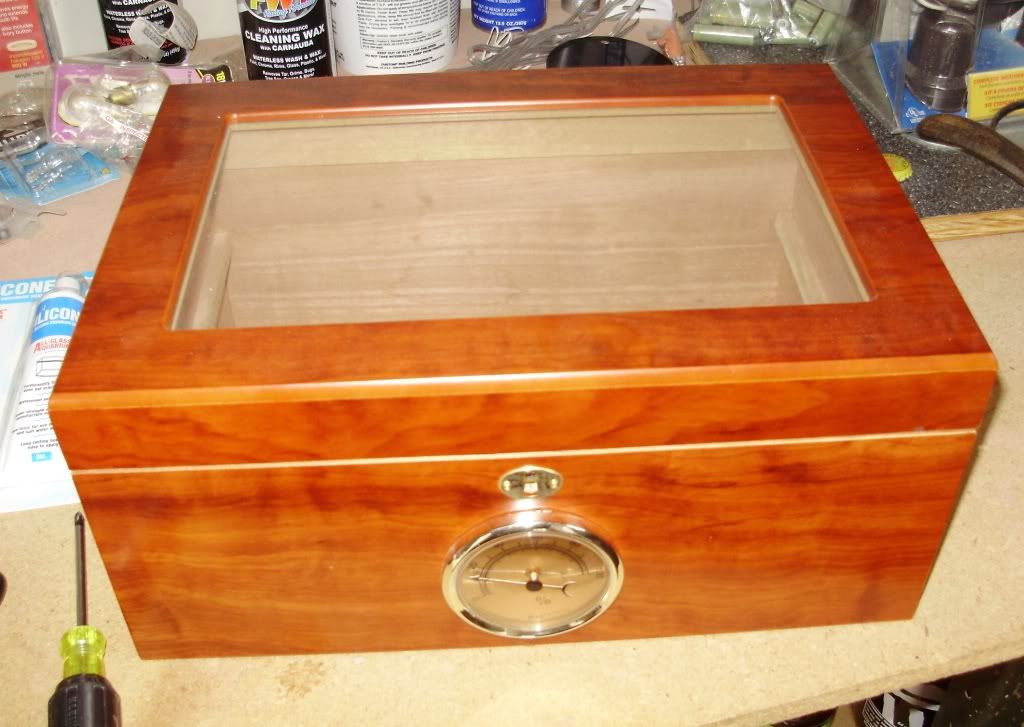 The easiest part of the job was removing the piano hinges on the lid. Be careful to hold the lid while youre unscrewing. I unscrewed from the lid first on both sides, then removed it from the base. 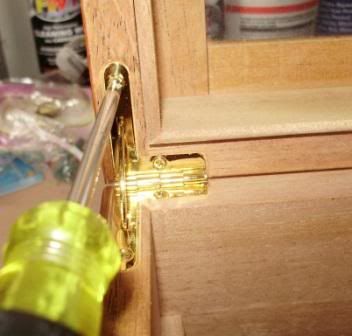 There are slim pieces of wood (not cedar, look like cheap firring strips or something) loosely attached to the side of the lid by staples or something. They keep the hold-downs in place against the glass. Since theyre pressed into staples inside the lid, you have to pry the first piece off. I used a thin chisel. Once you get the first strip off, the other three come out pretty easily. 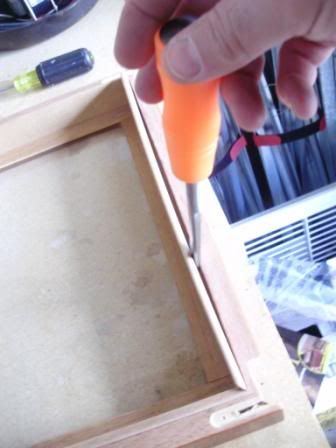 Mark the inside of these strips so you know how to re-position them when you put the lid back together. Below these strips are more thin strips of wood that support the glass. These are glued to the glass, and you need to very carefully pry them off without cracking the top. This was the most delicate part of the whole operation. Move the chisel slowly along the underside of the wood. Theyre only glued along a small section, so they shouldnt give too much resistance. Again, mark the underside in a non-conspicuous location so that you know where to reattach them. 
__________________

|

|

|
| Thread Tools | |
| Display Modes | |
|
|


 Threaded Mode