 |
|
|
|
#1 |
|
God Like Status
|
As you have read the threads about "Viper's Beads" (or just plain ole beads) which can be bought from Heartfelt Industries. But maybe you still have questions about using them or maybe you just want to update your humidifier to the best it can be. Well in the old adage that a picture is worth a 1000 words - here is a "how-to" on the subject.
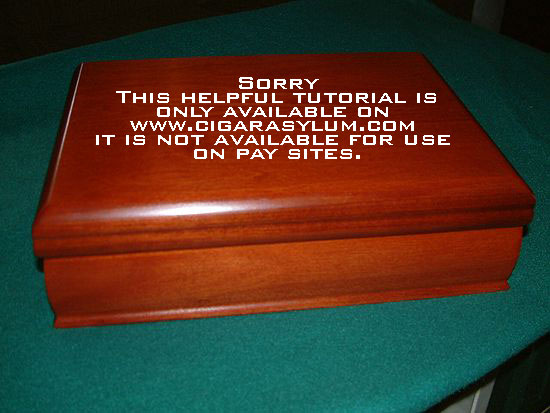
I am not going to explain how they work - there are posts on that already - I'm just going to show you some examples of how they can be used. And of course I have no vested interest in Viper's beads - just a user of them. So - let's say that you have a nice little humidor like the one pictured below.  Now you can see that there is not a whole lot of room in there - added to that there is a plate in the lid so that the humidifier can be attached to the lid - no space lost below. Yours may have velcro of some sort. In any case - you get the idea  Here you can see the bag of beads, a cloth mesh bag, humidifier and a tool to open the case.  Inside we find the standard foam that would use either straight distilled water or a PG solution.  Notice that on the back side of the lid - we see more vent holes that are covered up by the label. Let's pop that off -  Continued in the next post: |
|
|

|
|
|
#2 |
|
God Like Status
|
 Here we have installed the beads in mesh bag. Now you could do several things here. I’m using the mesh bag as an example – this is what the bag looks like when you order it from Viper. You could use pantyhose; place a screen across the front, etc etc.  The bag is fitted back into the case with the maximum amount of beads that will fit.  The spray bottle is filled with distilled water – and that is used to charge the beads.  Humidifier is now updated to the best it can be and reinstalled in the humidor.  Continued in next post - |
|
|

|
|
|
#3 |
|
God Like Status
|
Here is an example of using a tube. This is actually a worn out Drymistat tube. So another note on the Viper beads – they don’t wear out!
 Now this same process will work for just about any humidifier that you can get apart. Here is just some el cheapo that came with something.  It actually had two lids – so that you can rotate it to get more of less humidity. But you can see the same ole floral foam in it.  Foam removed. Now this is important – I know it’s hard to see – but notice the white on the foam and the inside of the lid. Yep – that’s mold. This humidifier was not in a box – I just dug it out of a bag.  Cleaned out the base real good and filled her up with the beads. From here this assembly could be put back together and is ready to go.  Continued in nest post: |
|
|

|
|
|
#4 |
|
God Like Status
|
Common question – How do I know when to re-charge the beads. As it states in the instructions – you can’t miss it. Here I have sprayed the right side and you can see they turn clear. The left is white – dried out. NOTE: While reading this over I need to make this note - just because the beads turn white, does not mean that they are not working and/or totally dried out. Always check your RH before adding more water - they may not need it.
 Got a cooler? No problem – just fill your bag up and toss them in.  Well I hope this has taken a little of the mystery away and given you some ideas on how to use this great product. There really is no sense in fooling around with PG solutions, etc - the beads can be ordered in different levels depending on your taste. Good luck with it, Ron Last edited by RGD.; 10-15-2008 at 09:53 AM. Reason: Note added. |
|
|

|
|
|
#7 |
|
Guest
Posts: n/a
|
Nice!
I did the same thing with my rectangular humidifiers as well. Works great! |

|
|
|
#9 |
|
Guest
Posts: n/a
|
Thankyou! I just did my rectangulars tonight in about 5 min. thanks to you! I love a nice easy project!
|

|
|
|
#10 |
|
Have My Own Room
|
|
|
|

|
 |
| Thread Tools | |
| Display Modes | |
|
|