 |
|
|
|
|
|
#1 |
|
Dear Lord, Thank You.

|
I haven't made anything forever.
I saw this jewelry box and I need to make a Valentine for Weeze, so here I go. It's what's called Intarsia. A bunch of little pieces fit together to make a relief. It's cool, but I've never done it. Most guys do it on a scroll saw. They make a pattern, draw it on the wood, cut it all, then sand all the pieces until they work. I'm not feeling that at all. I'm going to draft it for my CNC machine, let it do all the shaping of the pieces, do a little finish sanding if necessary, glue her up, stain it, and then learn how to do flocking for the inside. I've already started modeling it and figured out how to do what I want to do, which took about a week. Not the modeling, the figuring out how I was going to reinvent the wheel part. So, anyways, I'll post some pics as I go along. Here's what it's supposed to look like, but I changed that, too.  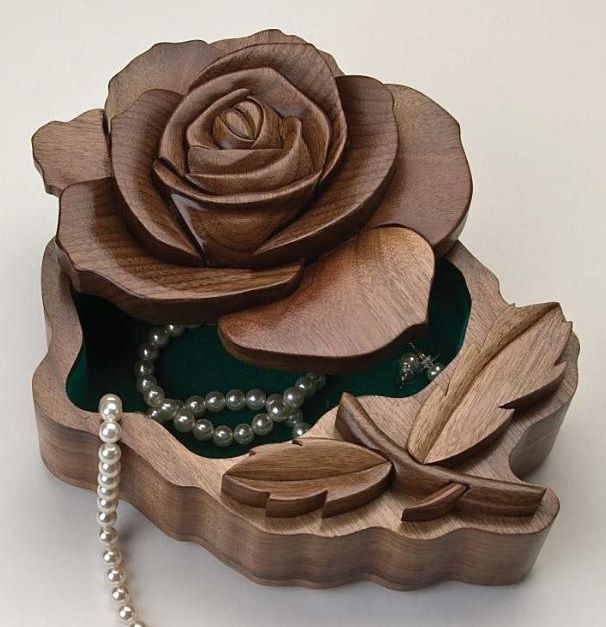
__________________

|
|
|

|
|
|
#3 |
|
Dogbert Consultant

|
very cool, can't wait to see how this reinvented wheel turns out

__________________
"Ignoring all the racket of conventional reality" - Keller Williams |
|
|

|
|
|
#7 |
|
Dear Lord, Thank You.

|
Ya know how I said I reinvented the wheel?
I threw all that out and reinvented all over again after getting some input on intarsia. That came from guys who have actually done it. I'm drawing the whole thing from scratch so the pieces will fit perfectly, rather than the normal slop that you get when you're scrollsawing and sanding to fit. I'm hung on whether to extrude pieces, getting all the shapes done on the cnc. I think I might be forced to shape the relief by hand. I'll use a dremel and curse a lot.
__________________

|
|
|

|
|
|
#8 |
|
Feeling at Home
|
Nice!
 Definitely can't wait to see how this turns out. Definitely can't wait to see how this turns out.
__________________
"maybe it's like becoming one with the cigar. You lose yourself in it; everything fades away" -Raul Julia |
|
|

|
|
|
#9 |
|
Dear Lord, Thank You.

|
I finished all the modeling today. Tomorrow I can dig out wood and render the toolpaths.
I was going to go with black walnut, same as the box in the pic. Weeze likes cherry, though. So cherry it is. I'll have do make a number of glue-ups and do some planing. I got set up to do that. All along I was thinking this box would be small, like 4" x 6". It's going to be about 10" high. I'm not really feeling that, so what I'll do is run an outline of the project in foam or some scrap. Then I can carry it off to the bedroom and set it a few places and see if it works. The most important part... I called my buddy to see about a string of pearls. Don't tell Weeze. She's gonna be ecstatic. 
__________________

|
|
|

|
|
|
#10 |
|
Admiral Douchebag

|
Got a get a pic of you giving Weeze the pearl necklace, Scott.

__________________
 Thanks Dave, Julian, James, Kelly, Peter, Gerry, Dave, Mo, Frank, Týr and Mr. Mark! 
|
|
|

|
|
|
#12 |
|
Dear Lord, Thank You.

|
Welp, I'm finally building it.
This mess will serve as the bottom of the box. Once the glue dries, I'll drill some holes, screw her down to the cnc table, hollow out the shape for the inside of the box, then I'll cut the profile. That'll make the box one nice, solid piece that won't twist or warp once it has a finish applied. That's VERY important. If the base doesn't keep shape, the inset lid won't set in properly, and there'll be gaps. The walls of this base will only be 3/8" thick. In the world of wood, that's very thin. It'll be prone to cupping and warping. The trick to keeping thin lumber from doing goofy things is to seal it. Be it shellac (which I think is a poor choice for a finish, but okay for a filler base coat), poly, wax, or vaseline, it is imperative to use equal coats on each side of the project. You'd think it wouldn't matter, but it does. Very much so. Just the uneven tension of different thicknesses of sealer will twist, warp, and rack thin lumber. Off topic, but good info... When building a humidor, it's very important to finish the interior prior to setting in the spanish cedar. That's what stabilizes it and keeps it's fine tolerances. Most guys don't do it because, well, I don't know why they don't. If the interior isn't sealed prior to installing the spanish cedar, it gets a nice, steady supply of moisture from the inside out. The different densities of the wood take water at different rates, and a box will rack and twist and never hold humidity worth a damn. Mind ya, we're not talking about the particle board laminated humis like from CI and so forth. I'm talking about real handcrafted solid wood expensive humidors. High density MDF is a good part glue and the rest is sawdust. It doesn't have grain, making it inherently stable. That ends the Mr. Wizard portion of the show. Here's a pic of tons of glue and a mess of clamps... 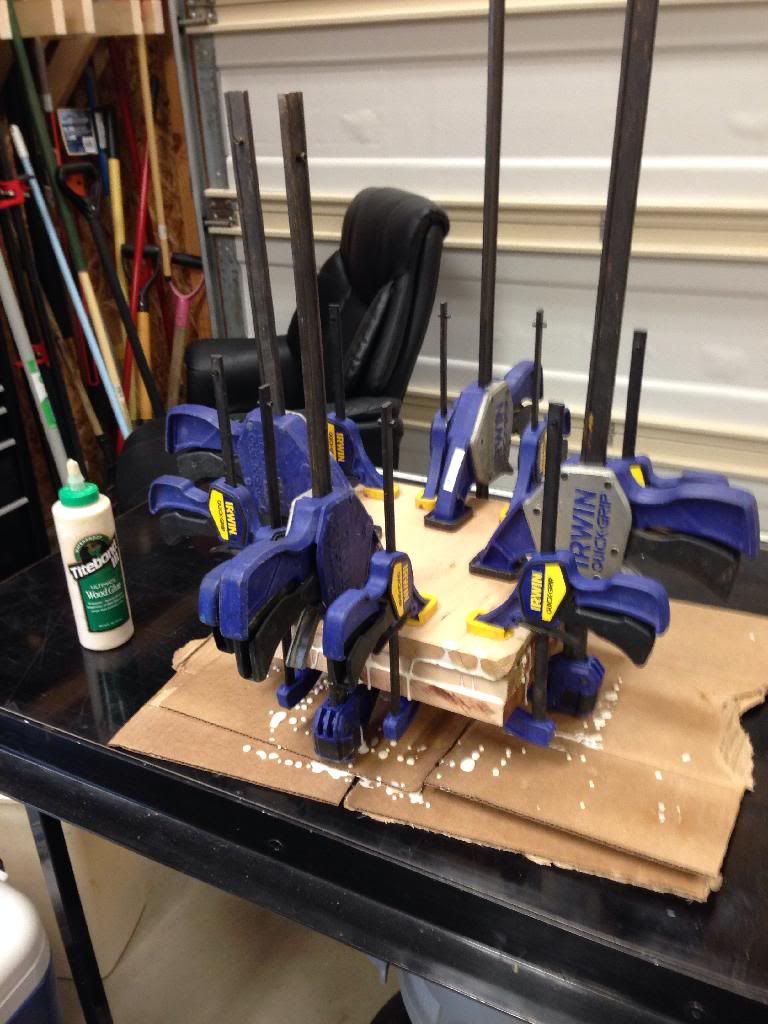
__________________

|
|
|

|
|
|
#13 |
|
Where's my buffaloooo ...

|
You know I love you, Scott, and usually I'm pretty impressed with your woodworking skills. So I hate to be the bearer of bad news, and I don't mean to sound critical, but this:
 Looks nothing like this:  sorry ... |
|
|

|
|
|
#14 | |
|
C.I.A

|
Quote:

__________________

|
|
|
|

|
|
|
#17 |
|
Dear Lord, Thank You.

|
Huh. I might need to call in some help, Vin.
 I'm just now getting ready to cut out the lid and 3/4" petal parts. While it's cutting, I'll get the toolpaths ready for the rest of the petal parts. Then, because I'm totally impatient and I should wait till at least tomorrow to cut out the base, I'm going to cut it. Pics soon.
__________________

|
|
|

|
|
|
#18 |
|
Dear Lord, Thank You.

|
Here's a little one minute video so you can see the Shopbot in action.
I was talking, but not loud enough. With the radio, dust collector, air filter and shopbot running, it's a tad noisy. I wear earplugs all the time, cause if I don't, it stresses me out.  I'll have pics of all the little pieces shortly.
__________________

|
|
|

|
|
|
#19 |
|
Dear Lord, Thank You.

|
These are the petals and leaves and stem and thorn. Notice that they're all different thicknesses. What I did there is create the shape, cut from the top down subtracting material, leaving the piece at it's proper thickness.
There are 3/8", 1/2", 5/8" and 3/4" thick pieces. Once the pocket is cut out to create the proper height piece, it's then cut outside it's shape, leaving little tabs that hold the piece in place so the machine doesn't eat it. 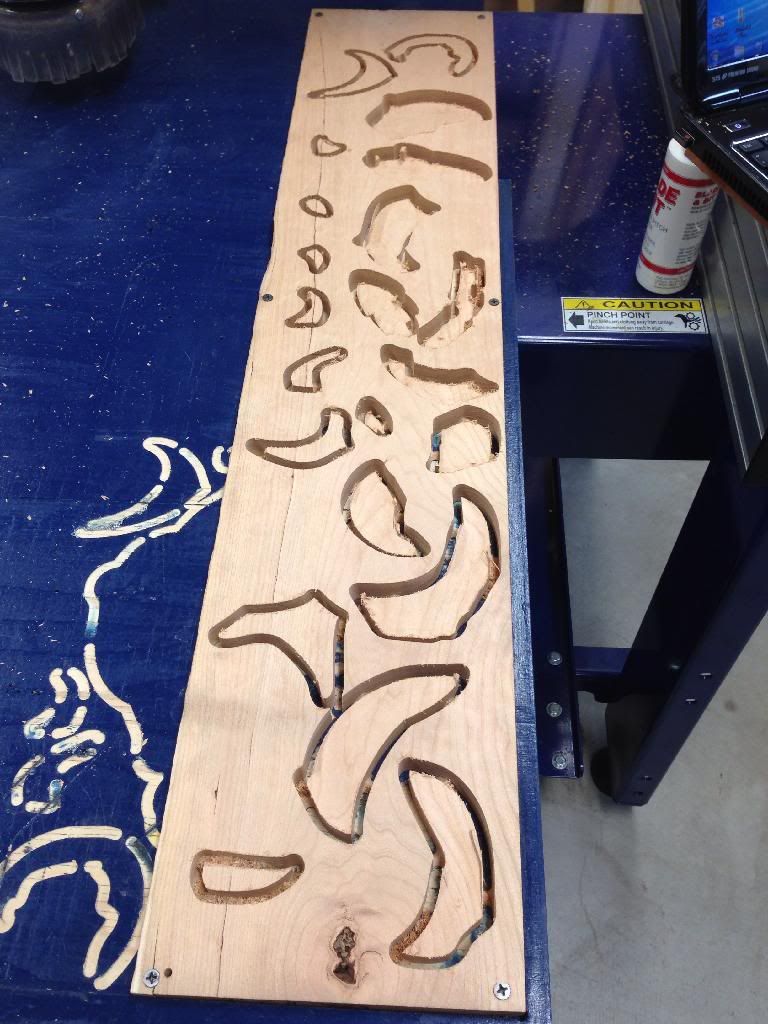 This is just a close-up so you can see the depth of individual pieces. 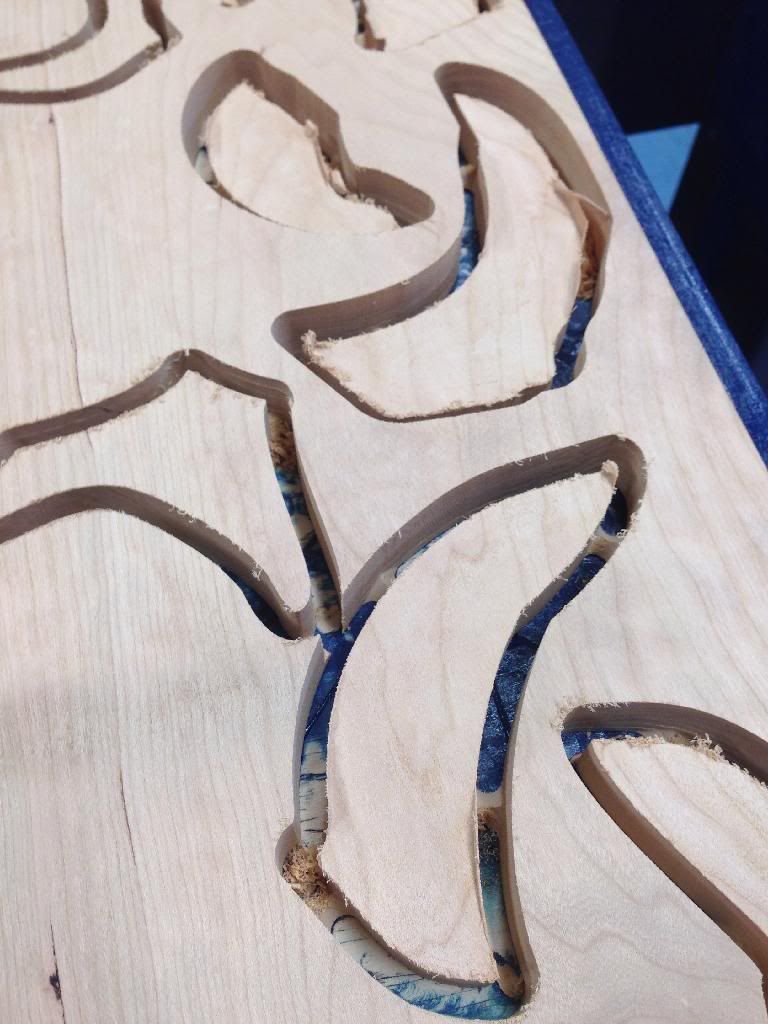 Here's the box lid. It's upside down. The high part is what will center the lid on the box. 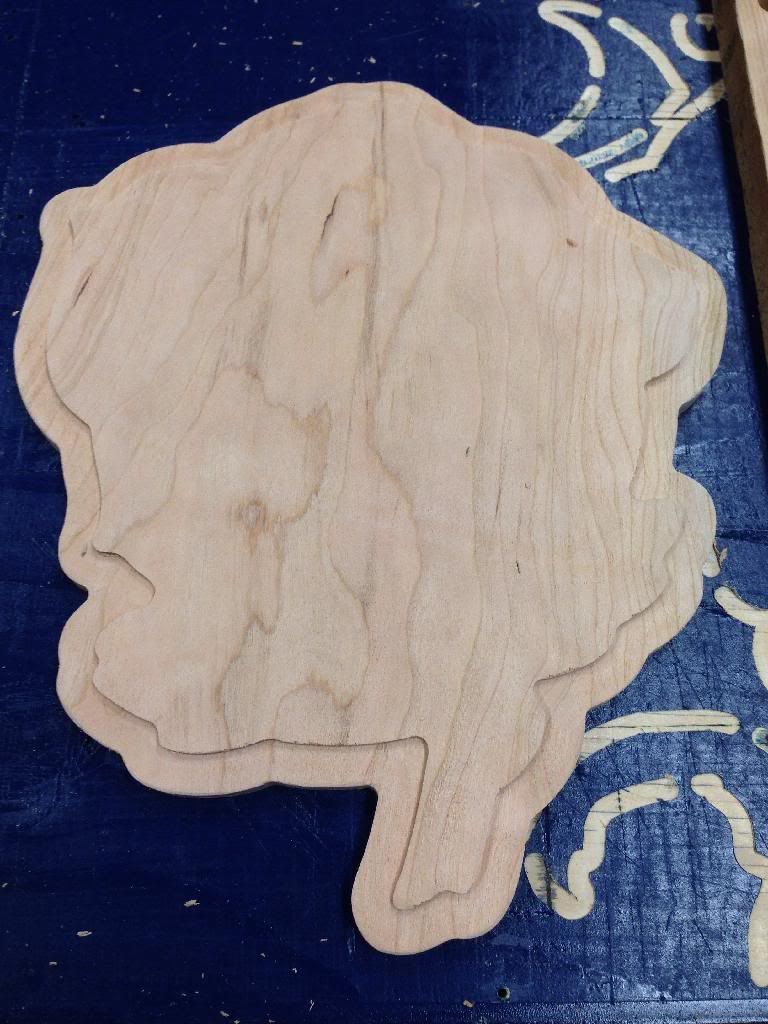 That's it for today. As soon as this last pass is finished on the shopbot, I'm gonna go hang with my sweet baby. I'll try to finish all the pieces in the morning, then start sanding and assembling. 
__________________

|
|
|

|